Hilarious video of our 2014 road trip to 22 states and 15 national parks...


Ram ProMaster RV Camper Van Conversion - Beds and Storage
If you are looking for the index page of the campervan project, click here.Bed Framing
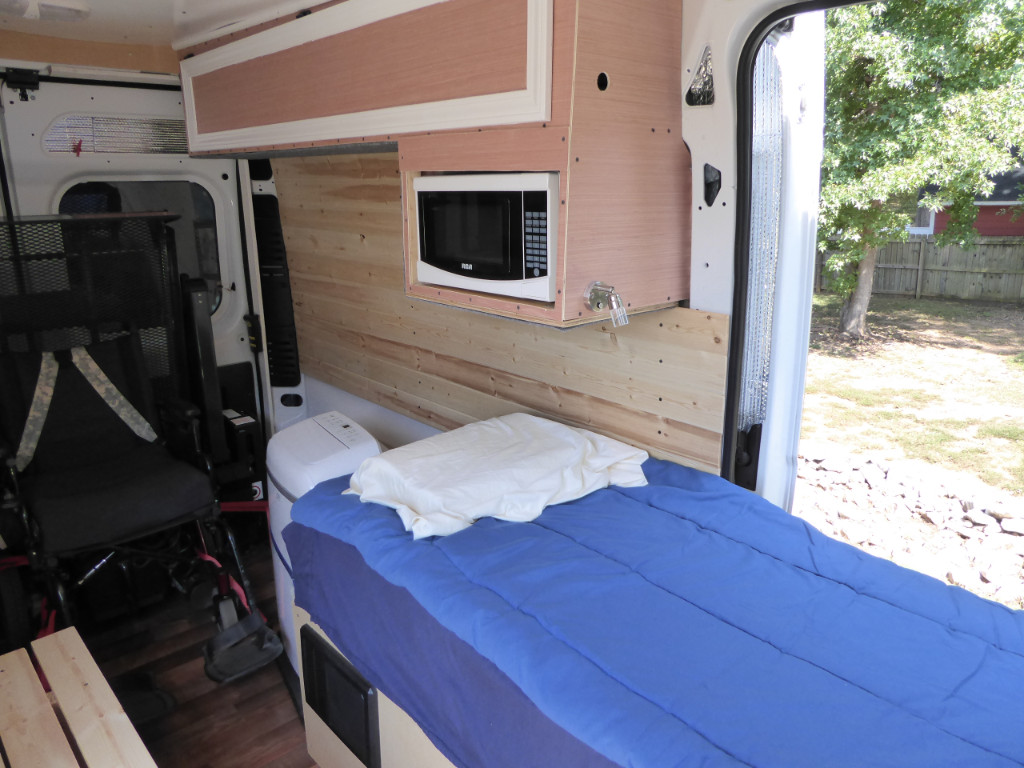
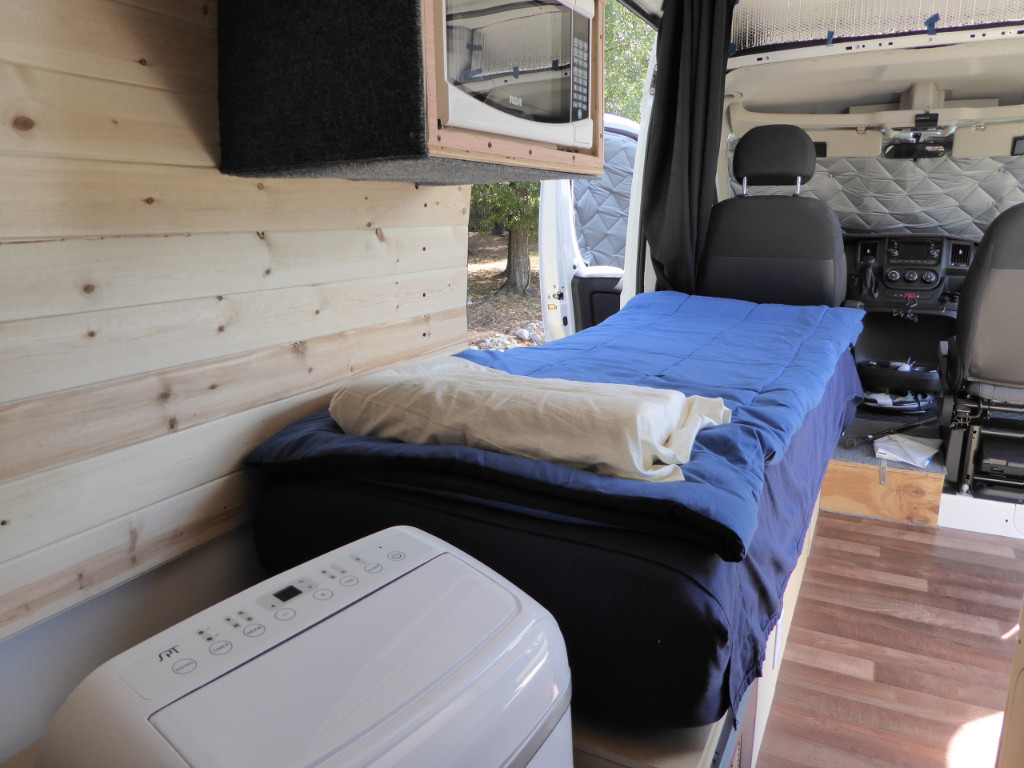
The bed on the driver's side (Jerry's bed), is 80" long and 27" wide. The distance from the floor to the platform that holds the mattress is 18". This allows sufficient room for the batteries, air conditioner exhaust duct and a little storage. Keeping the bed as low as possible for Jerry is a priority. He doesn't climb very well and having a lower bed makes transferring to it easier. Our mattresses are 10 inches thick so that puts the top of the bed at 28" and that is plenty high.
Jerry's bed is modular and built in 3 sections. Each section is independent of the other and can be removed at will. The section that holds the batteries and electrical won't ever be removed as it does not block the sliding door. When we are not camping, we can remove the other 2 sections and give us use of the driver's side sliding door. Here is a video and some pictures of Jerry's bed.
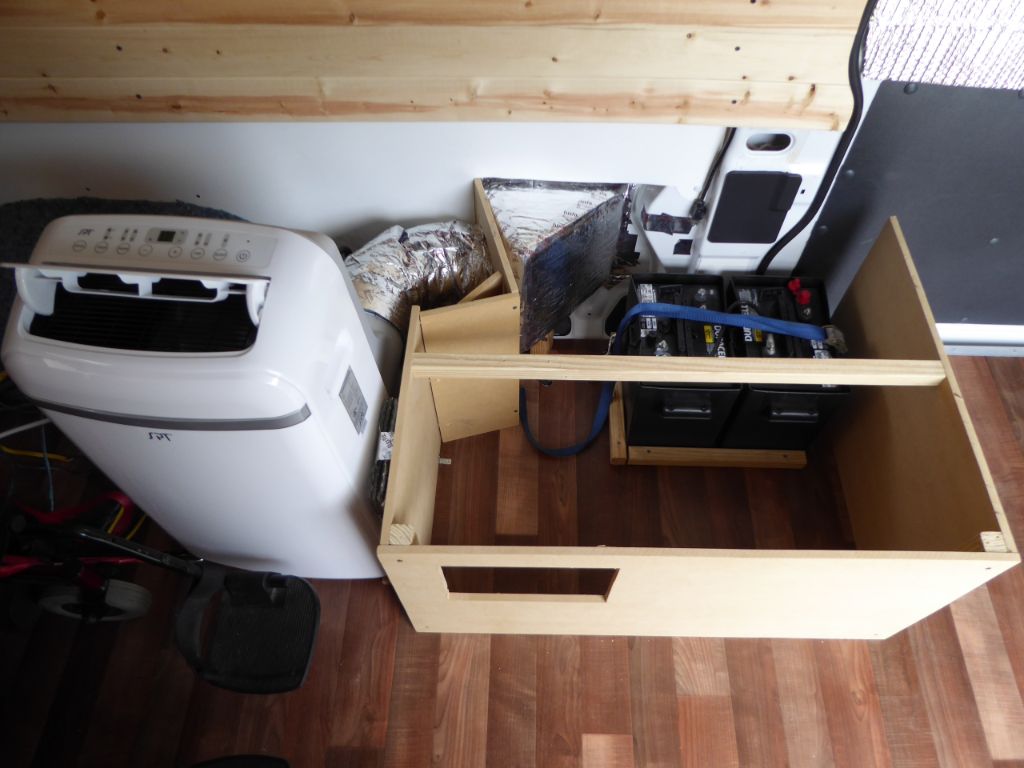
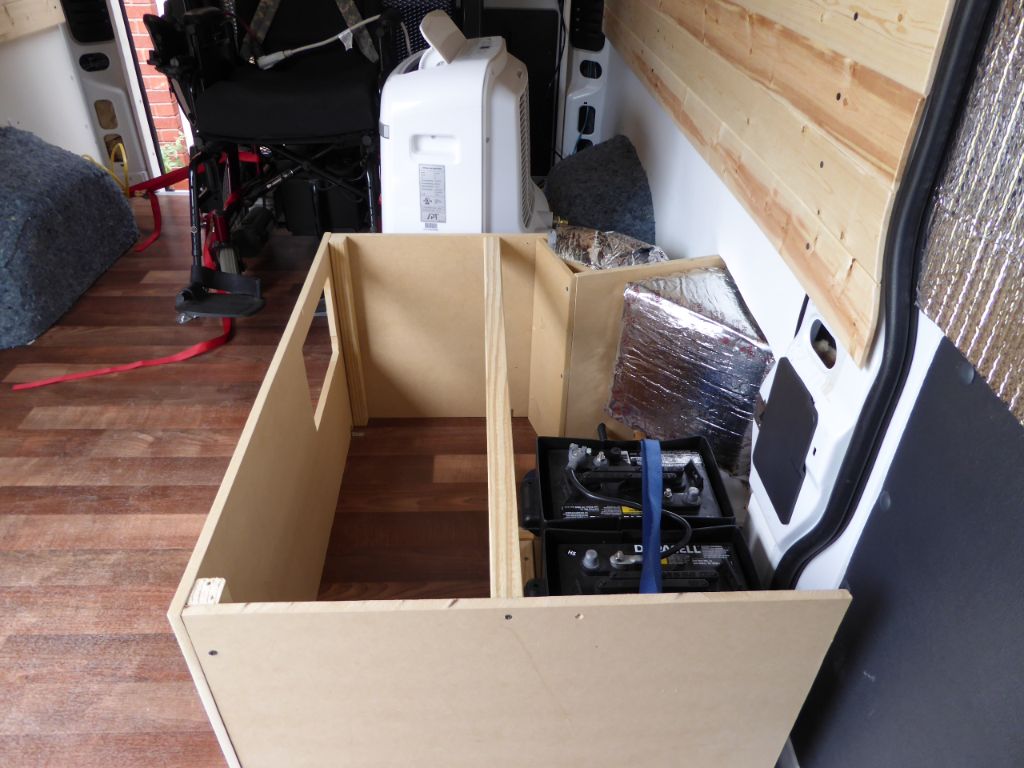
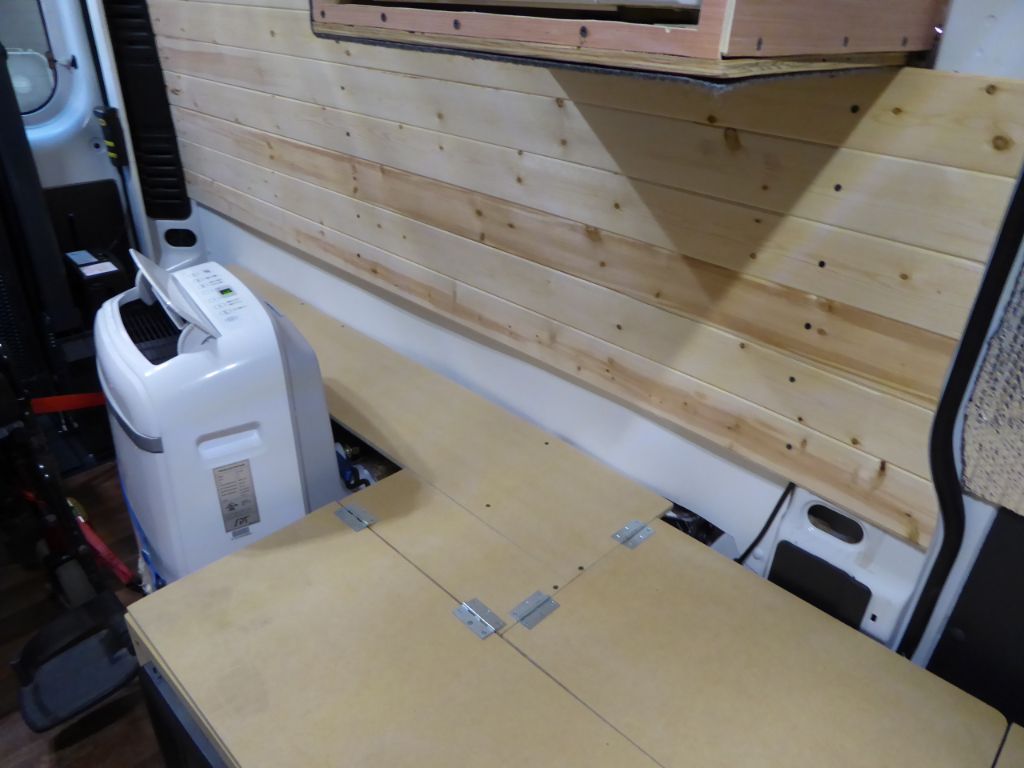
This is the section that holds the batteries and electrical. You can see the A/C and the exhaust duct as well. The hole you see in the front of the cabinet is where the electrical panel will go. This panel holds 4 circuit breakers and all the fuses for the 12v circuits. It is also a 3 stage battery charger. It is a Progressive Dynamics PD4045 converter if you want to see all the details about it. We highly recommend it.
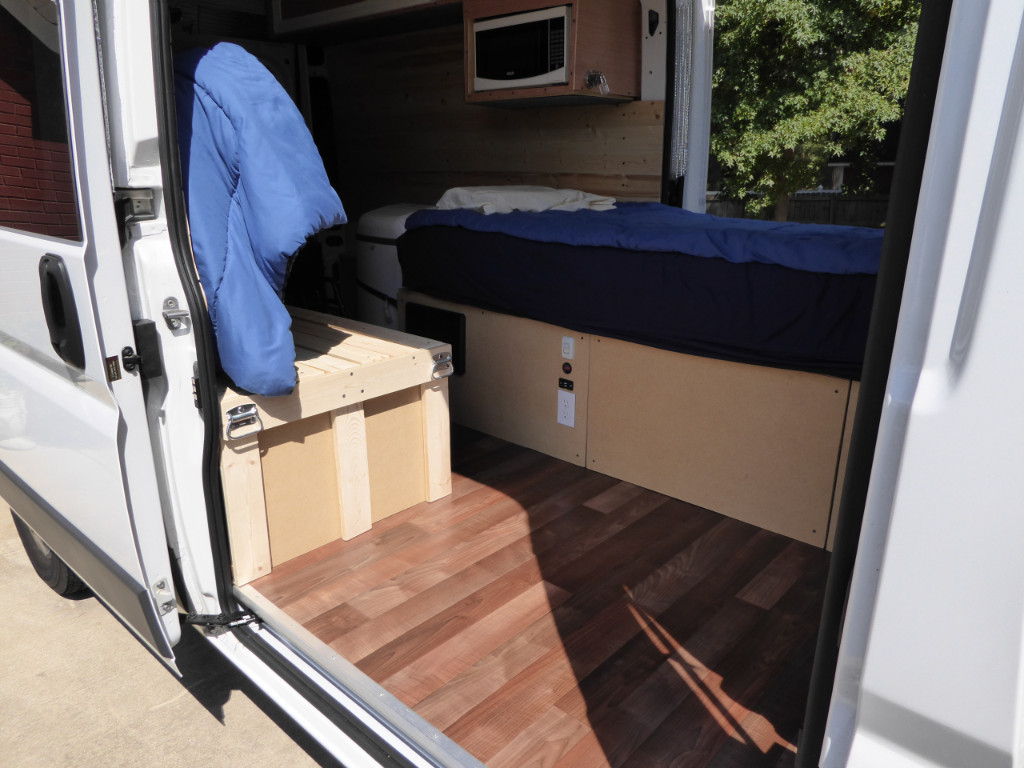
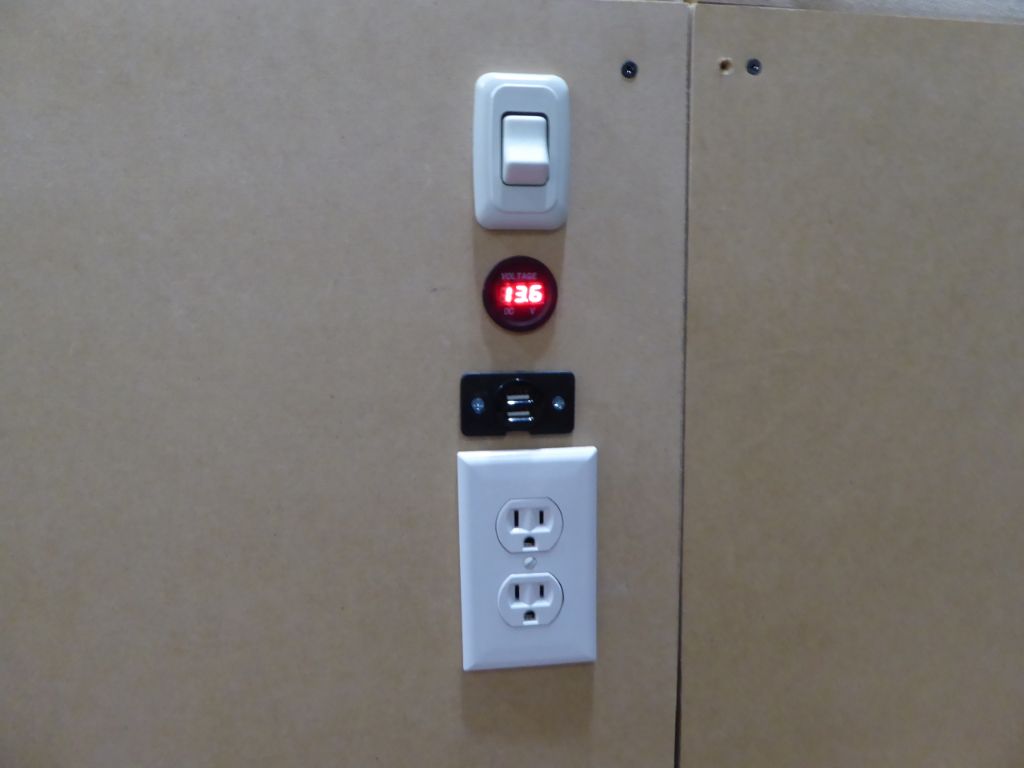
The following images are the completed bed. If you read the description above, you will know what everything is. You will see the light switch that controls the overhead lights, a battery voltage indicator (this is handy!), a 12v outlet with USB chargers, and a 120v outlet in case we want to plug something in.
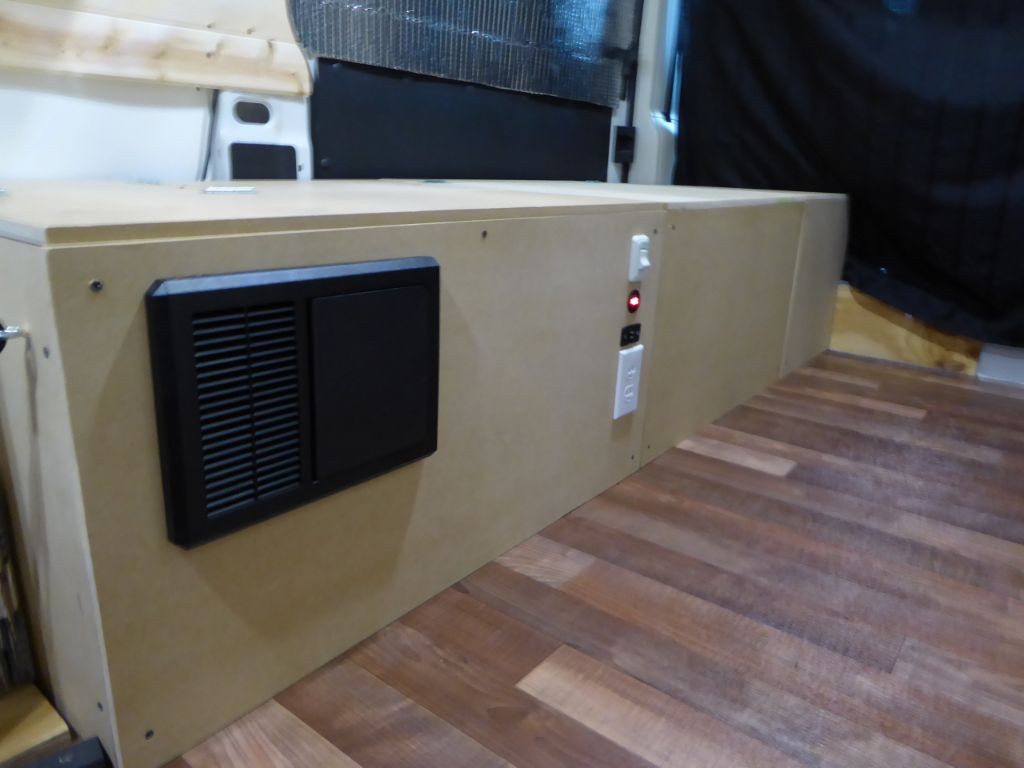
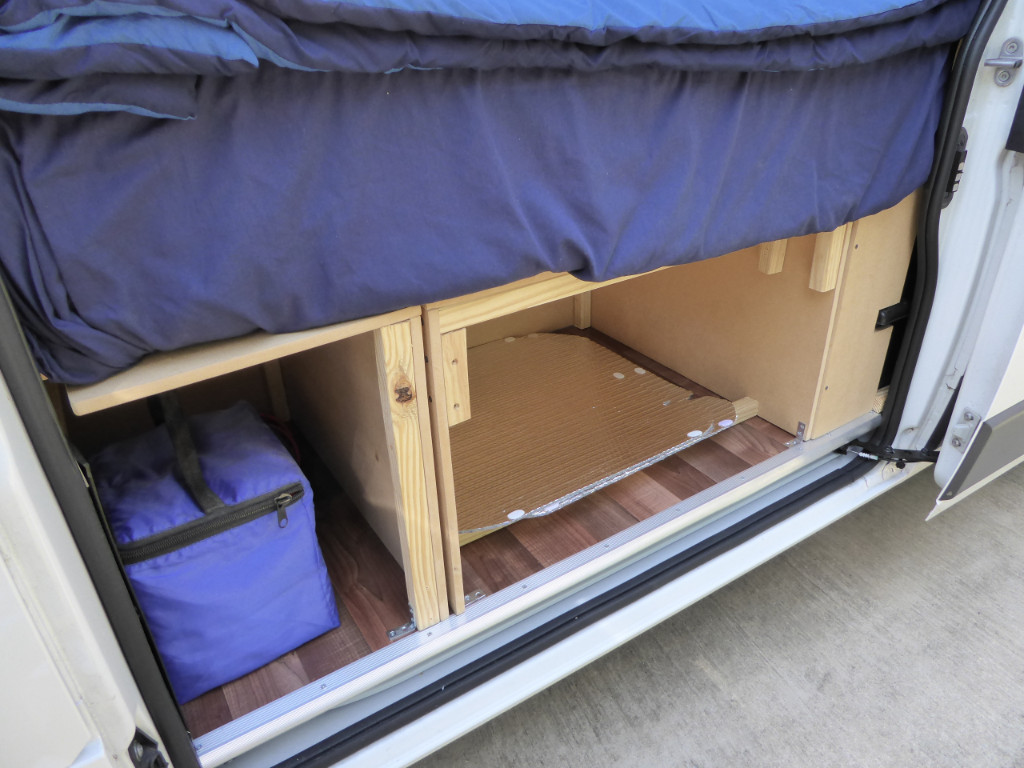
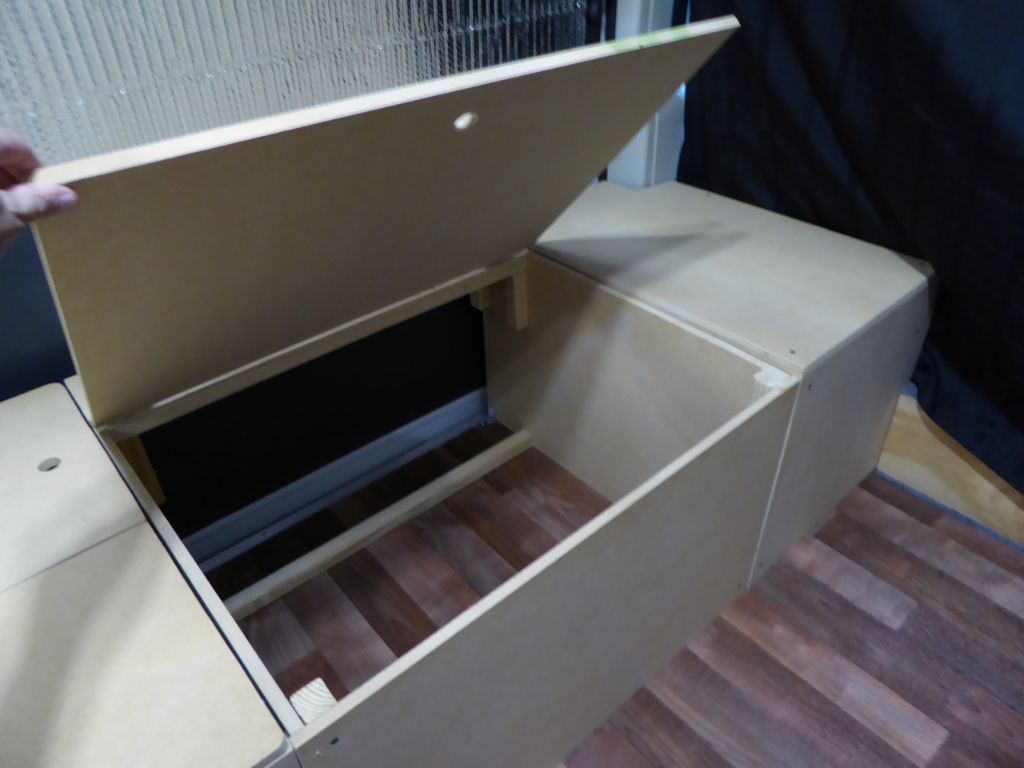
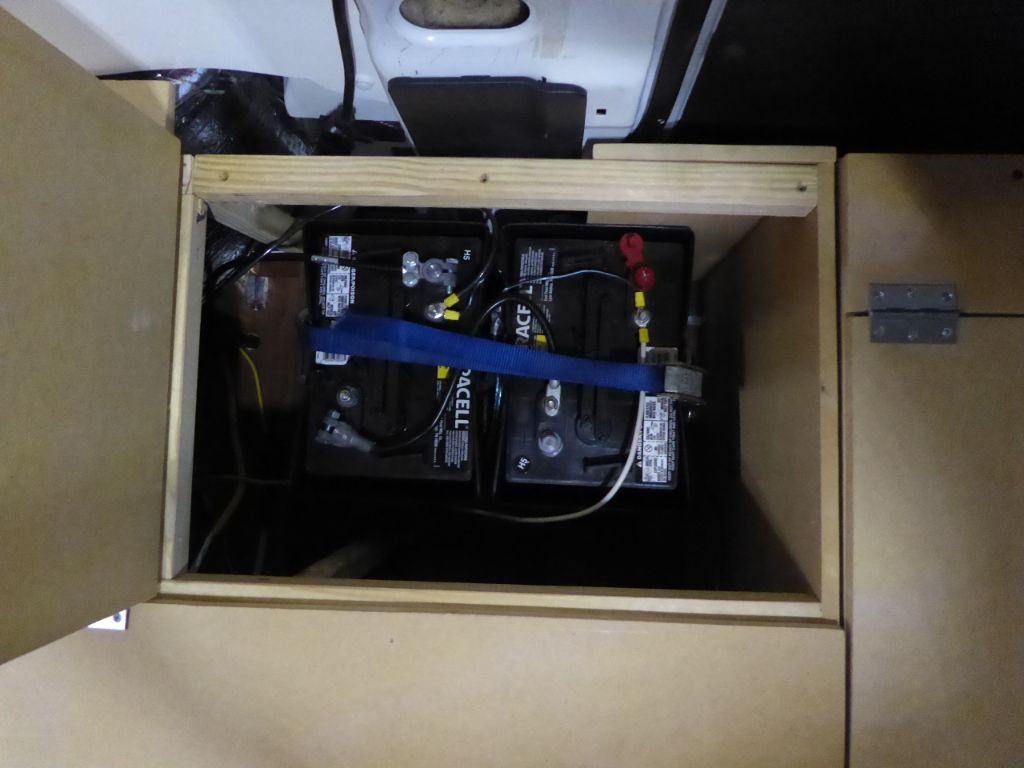
The middle section has a lid so we can access the storage from inside the camper and the other side is open so we can access it by opening the sliding door. This middle section is removable so we can have more floor space when we are not camping. The section up against the driver's seat is removable as well. Below that image is a shot of the batteries and the little door we can open. The batteries have to be checked every month so easy access was necessary. The final image is the shelf that covers the wheel well. I'm not particularly happy how this section turned out so I will likely redo it one of these days. I would like a lid so I can get to the A/C duct without having to move the A/C.
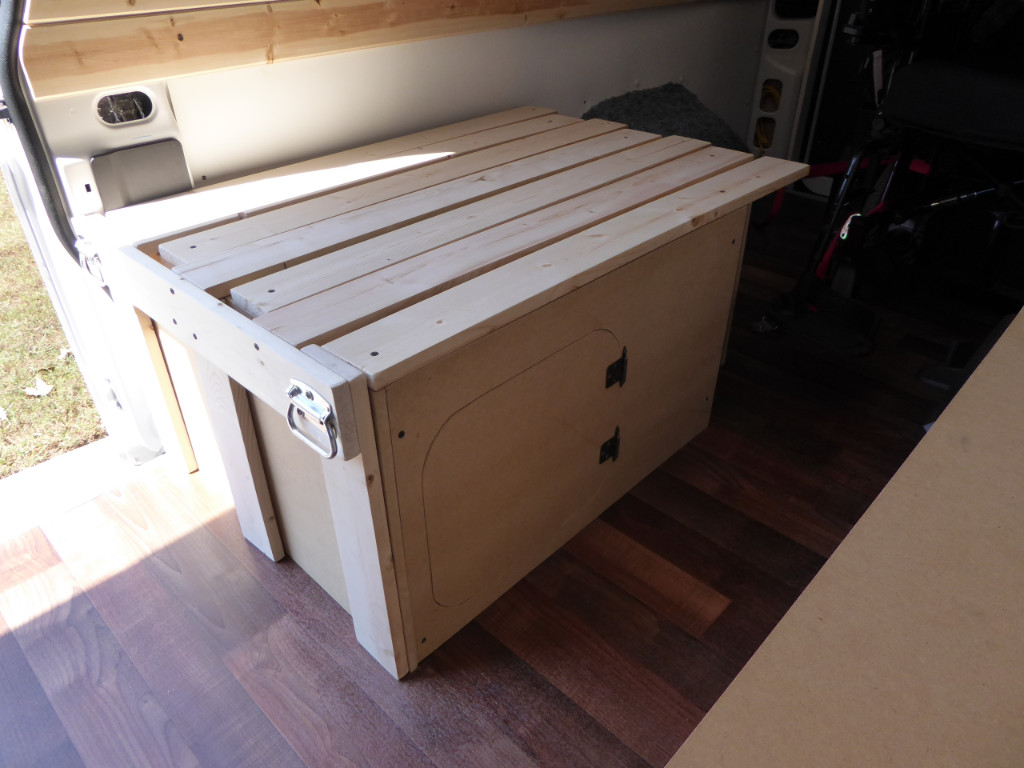
Cynthia's bed is a multi-part bed where one end slides into the other. Basically, it is built in halves with one half sliding into the other when we are not camping or need access to the passenger sliding door. Her mattress stores on its side along the wall when not in use. Her bed is also 18" tall. We finally figured out how to build this dang thing, so here are some pictures of the build. The first image is the bed in storage mode, all folded up. We still have to build the shelf above the fender well, as well the mechanism that will hold the mattress in place when it is standing on it's edge. The 2nd image shows the little storage access door open, and the 3rd image is the bed frame extended.
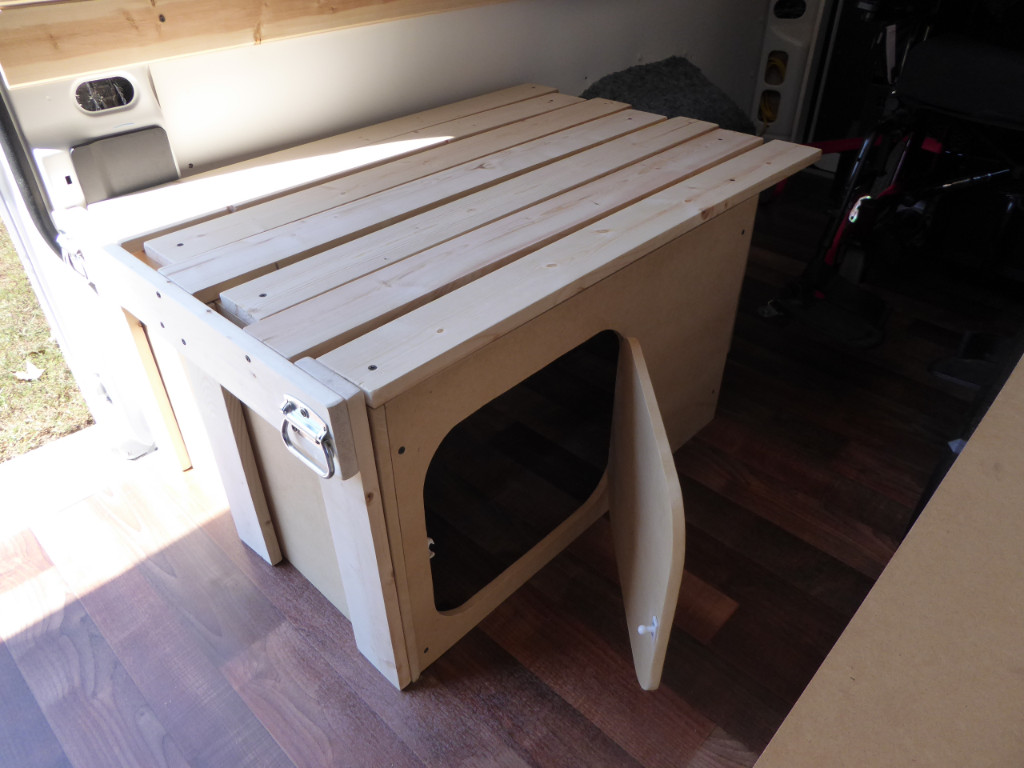
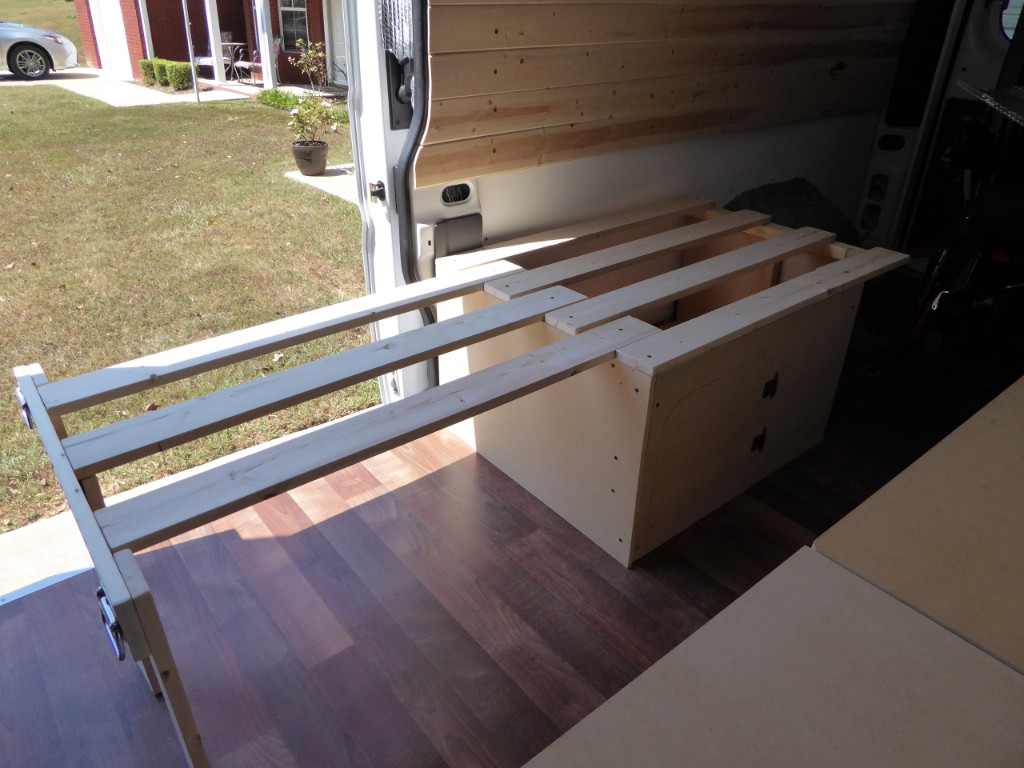
Since the beds are not normal sizes, we had to buy a queen size memory foam mattress and cut it to fit each bed. Here's a shot of the exposed foam right after we cut it. As you can see, on a 6" mattress you get 2" inches of actual memory foam and 4" of plain old foam. What a ripoff, and this is supposed to be a highly rated brand of mattress! We used a very sharp 8" blade knife to cut it and it was quite easy. We found out on our first camping trip that 6" of foam isn't quite enough when placed on a hard surface. We added another 4" of actual memory foam to the mattress to make it more comfortable, so now we have 10" thick mattresses.

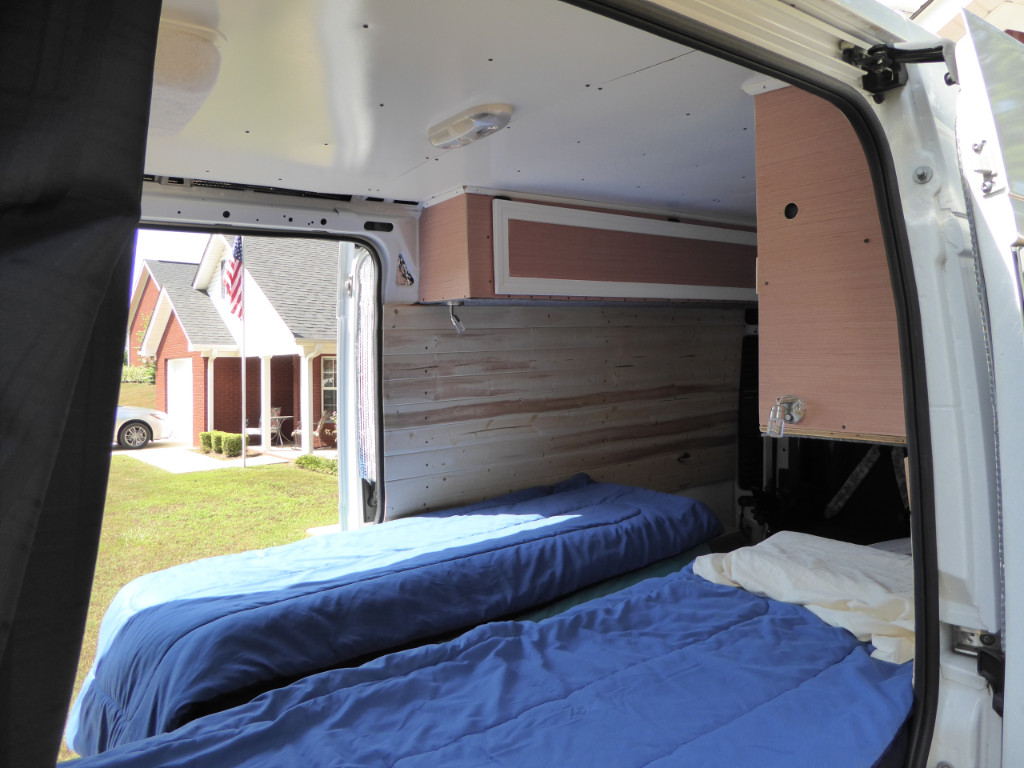
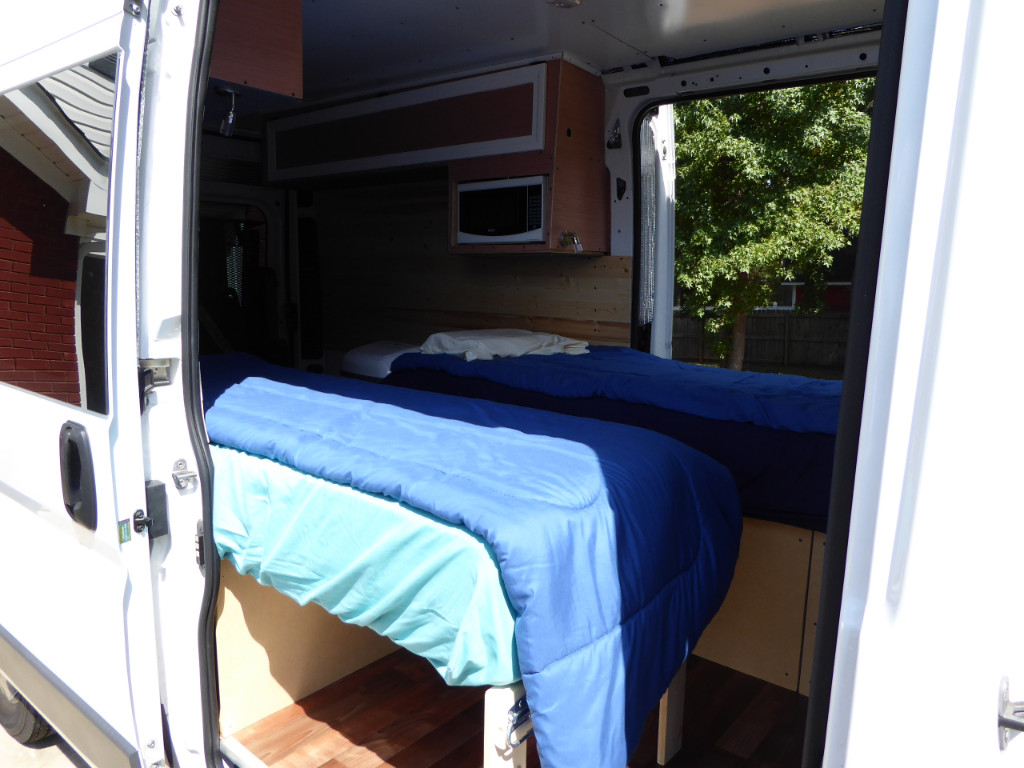
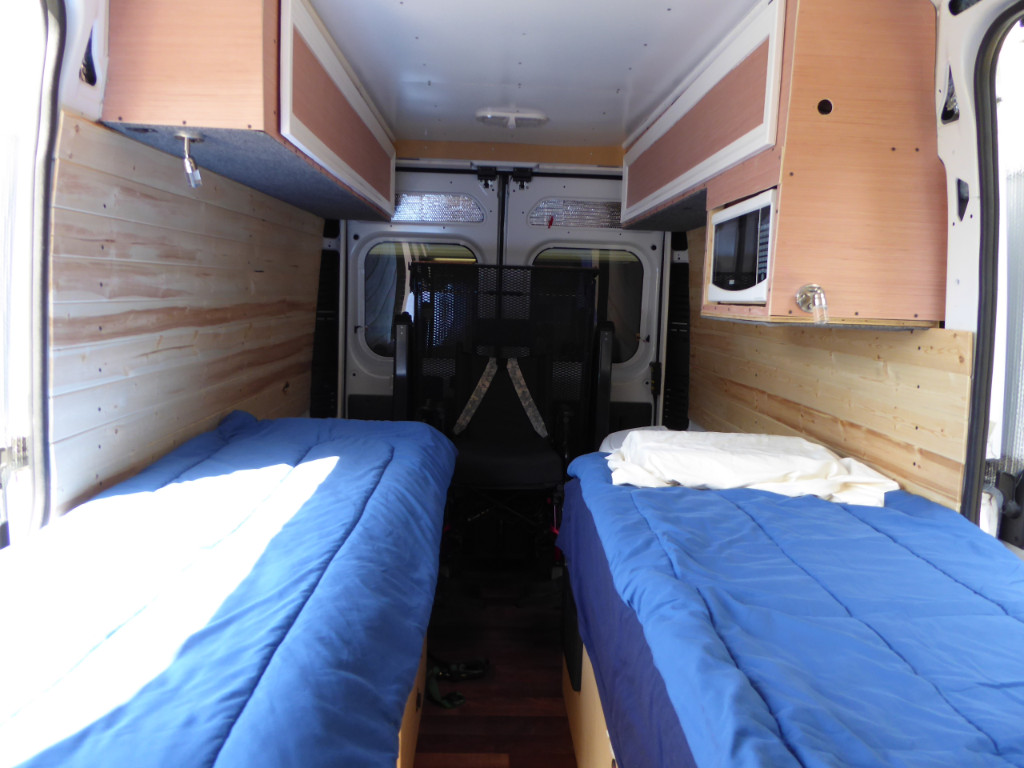
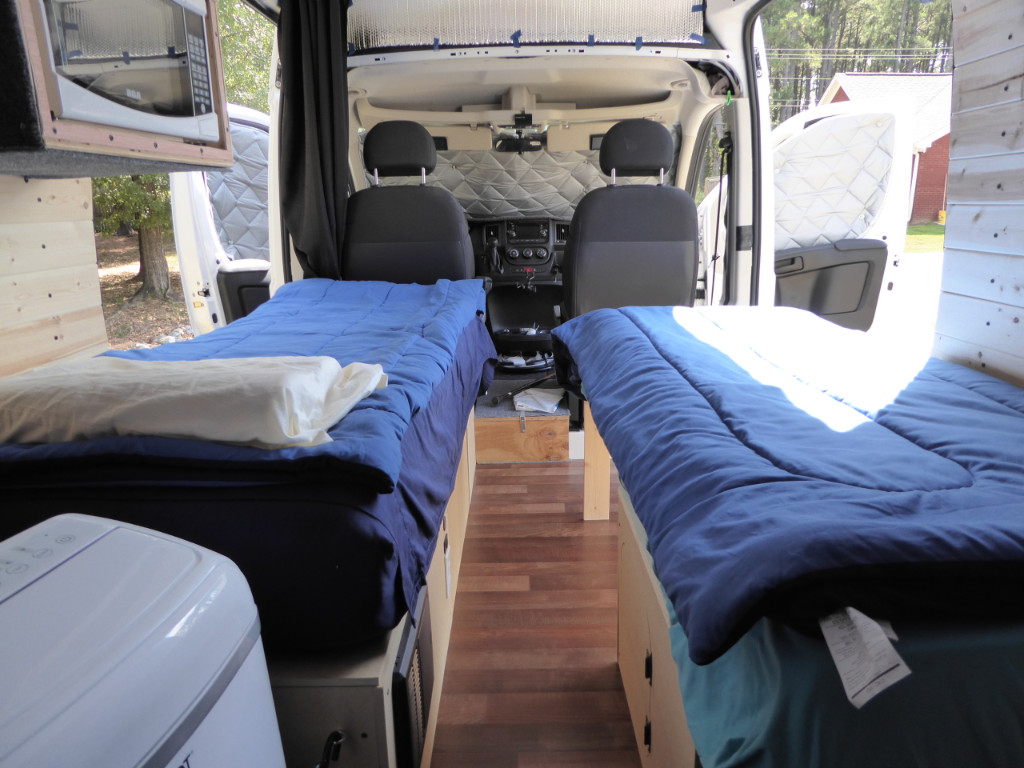
We finally got around to taking some pictures with the mattresses in the van. Here they are...
